


Dry Brushing: What Is It and How Do You Do It
A couple of years ago, I promised myself I would take better care of my health and body, specifically my skin – especially as I was getting older. Had I known in my twenties the importance of skincare (not only for my face but for my body as well) what I know now in my mid-forties, I would have done a lot of things differently back then.
Dry Brushing
After a bit of research, I stumbled upon a dry brush image and was immediately intrigued by not only the process, but the added benefits as well. I decided to start doing it and have surprisingly been consistent with it ever since.
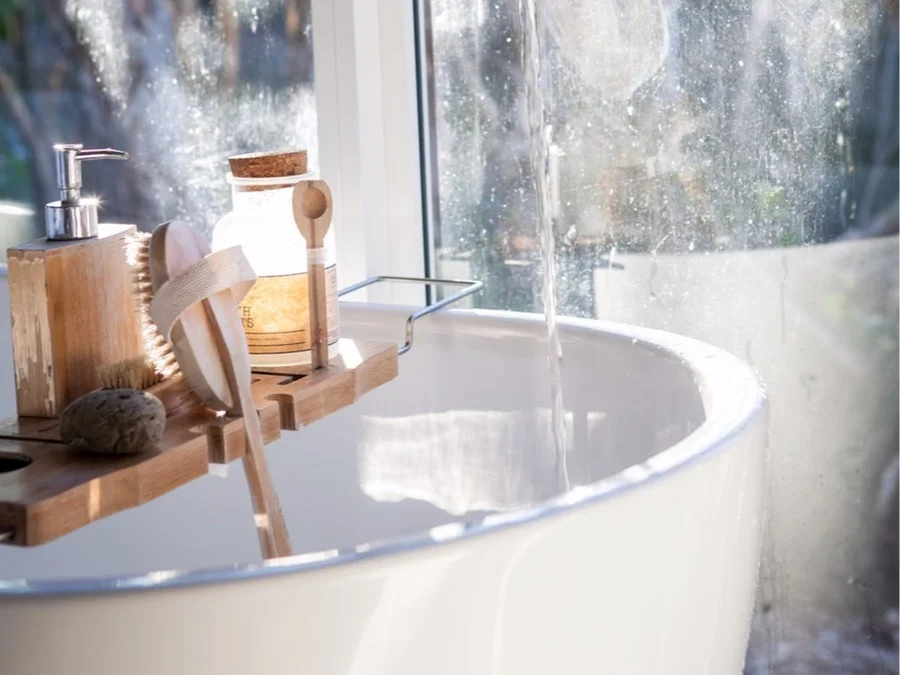
Image by: Holger Link
Many have seen the various types of dry brushes, but aren’t exactly sure what to do with them. Beside the health benefits, you have the added bonus of smooth skin.
What is dry brushing?
Dry brushing has been around for centuries. It’s exactly what you think it is: brushing the skin when it is dry.
Essentially, it’s like a massage and exfoliation at the same time while helping the circulation of your lymphatic system which in turn, helps your immune system work better for a healthier you. It is typically and most effectively done before showering.
You basically brush your skin towards your heart/chest. This process not only brushes away dead skin cells leaving smooth skin, but as mentioned above, it helps with circulation, and supports your lymphatic system which is known to be an important health benefit.
Some say dry brushing helps reduce cellulite. For someone who has been dry brushing 2-3 times a week for the last 2 years, I will say my cellulite definitely appears to be smoother, however, I think we all know that result is considered normal and sometimes expected whenever you massage the area. I personally don’t believe there is a non-surgical/non-evasive way to banish cellulite but I am happy with the smoother feel and look of mine from the dry brushing.
What is Lymphatic Support?
One of the major components of our immune system is the lymphatic system which is made up of vessels, nodes and ducts that help “lymph” travel throughout our bodies. Most of these vessels travel just underneath our skin and the act of dry brushing helps stimulate the normal flow in the body which is said to help eliminate toxins naturally.
Is there a right and wrong way of dry brushing?
Yes, there is! Here are some tips on dry brushing:
Choosing a Dry Brush:
It is important to invest in a quality brush with natural bristles that are hard but not too stiff where it can irritate the skin. For hard to reach areas, you can also get a smaller brush for convenience. This is the brush I have been using and have been very happy with it.
The best time to dry brush:
Dry brushing can be done at any time but is most effective before a shower as after dry brushing, not only is dead skin released, but so are the toxins from your body and a hot shower helps rinse those all off. If you want to follow the hot rinse by a cold rinse, I have heard it is even better as it helps close off your pores for even smoother looking and feeling skin too.
Image By: Daiga Ellaby
Since dry brushing is like a massage, and if you are not putting too much pressure where it becomes uncomfortable, you can dry brush for as long as 15-20 min. I personally do about 10 – 15 strokes per section depending on how I am feeling that day or how limited I am with my time.
Sometimes on days when I have early appointments, I do a quick 5 strokes per area and I feel it is still effective. The key is to do it properly.
How to use a dry brush:
The goal is to brush towards the heart/chest area for optimal circulation benefits and for the toxins to drain properly through the normal flow of the lymph nodes. This is how I dry brush:
FOR THE LEGS: using short strokes, start from the toes upward. Use enough pressure to be effective but not too much where the skin becomes irritated and sensitive.
The first time you dry brush, expect quite a bit of dead skin to be released off your skin – even if you consistently moisturize your skin, you will be amazed as to how much dead skin falls off.
FOR THE ARMS: using short strokes, start from the hands and move upward towards the heart/chest area. Again, not too much pressure. My arms tend to be more sensitive than my legs, so I don’t brush as long or as firm as I do on my legs. After a few times of doing the dry brush, you will know what pressure and time works best for the different parts of your body.
FOR THE STOMACH, CHEST AND BACK AREAS: you can use circular motions, but go clock-wise as that is the direction the lymph nodes drain and the best way to continue when the toxins are released from dry brushing.
AFTER CARE: showering is key to rinse off not only the dead skin cells, but also the toxins that have been released. Make sure to moisturize - it has been key for me. I use this moisturizer and have been really happy with it.
Note 1: Do NOT dry brush sensitive areas of your body such as your face, genitals, or anywhere that is sensitive. Remember, we all have different skin so what works for one may not work for someone else.
Note 2: Stop dry brushing if your skin is getting scratched (an indication you may be pressing too hard) or if you break skin or it becomes irritated and/or inflamed. Peeling is not necessarily a bad thing, but you know your body best. Obviously, if you have any concerns, always discuss with a trained professional or dermatologist.
Let me know below in the comments if you dry brush - curious to know if you’re a fan of it like I am!
Hugs!
Mama K

